

At Lumar, we understand that log file analysis is one of the most critical data sources in search engine optimization. Log file data allows SEO teams to identify how search engine crawlers are accessing the website and can help troubleshoot crawling and indexing issues on a website.
To help our customers easily pull log file data into Lumar, we have partnered with Logz.io.
Our team has written this guide to help customers answer the following questions:
What is Logz.io?
Loz.io is a company that provides log management and log analysis services. Their platform combines ELK as a cloud service and machine learning to derive new insights from machine data.
What is ELK?
ELK stack is an acronym used to describe an AWS log management platform consisting of three popular open-source projects: Elasticsearch, Logstash, and Kibana.
- Elasticsearch is a deep search and data analytics project.
- Logstash is a centralized logging and parsing project.
- Kibana is a data visualization project.
ELK gives customers the ability to:
- Aggregate logs from all systems and applications
- Analyze these logs, and
- Create visualizations for application and infrastructure monitoring.
How does Logz.io work with Lumar?
Logz.io and Lumar work together as follows:
- An account is created in Logz.io.
- Log files are shipped from the webserver to Logz.io.
- Log files are aggregated and stored in Logz.io.
- An API token is generated in the Logz.io account.
- This API token is then saved in Lumar.
- The API token is then used in the set up of the Logz.io connection in Lumar.
- A query is then created in Lumar to fetch log file data through the API.
- Lumar sends an authentication request to the API using the API token.
- Logz.io API accepts the token and allows Lumar to start requesting log file data based on the query.
- The log file data is crawled, processed, and visualized in Lumar, along with other data sources.
How to set up and configure Logz.io and Lumar
When integrating with Logz.io, it is crucial to make sure:
- Log files are shipping to the Logz.io ELK stack, and
- Lumar is set up to access log files from Logz.io.
Let’s go through these two steps in detail:
1. Shipping log files to Logz.io
Before Lumar can crawl log files, they need to be shipped to Logz.io ELK stack for storage and processing.
Logz.io provides a list of all the shipping solutions in their documentation and the dashboard.
Hover over “Logs” in the left side navigation bar: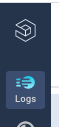
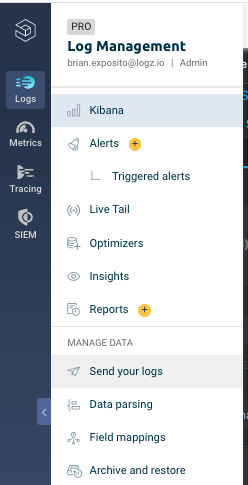
Mouse down to “Send your logs” and click on it in the popup menu:
Our team strongly recommends going through the shipping options with your engineering or IT teams to better understand how to ship logs into Logz.io for your web server.
The most common log shipping methods for Logz.io are Filebeat and Amazon S3 fetcher.
Filebeat
Filebeat is a lightweight open-source log shipping agent installed on a customer’s HTTP server. Logz.io recommends it because it is the easiest way to get logs into their system.
Logz.io also provide documentation on how to set up Filebeat on the most common web servers:
Amazon S3 fetcher
Amazon Web Services can be used to ship certain services (for example, Cloudfront log files) to an S3 bucket, where the Logz.io Amazon S3 fetcher can be used to fetch the logs.
Our team recommends going through the documentation and technical setup around this option with your engineering and/or IT teams.
2. Allowing Lumar access to Logz.io
Once the log files have been shipped to the ELK stack in Logz.io, the Lumar connection needs to be set up.
1. Go to the Connected Apps page in Lumar. If you don’t have the Logz.io as part of your subscription, you’ll see the option to request the add on.
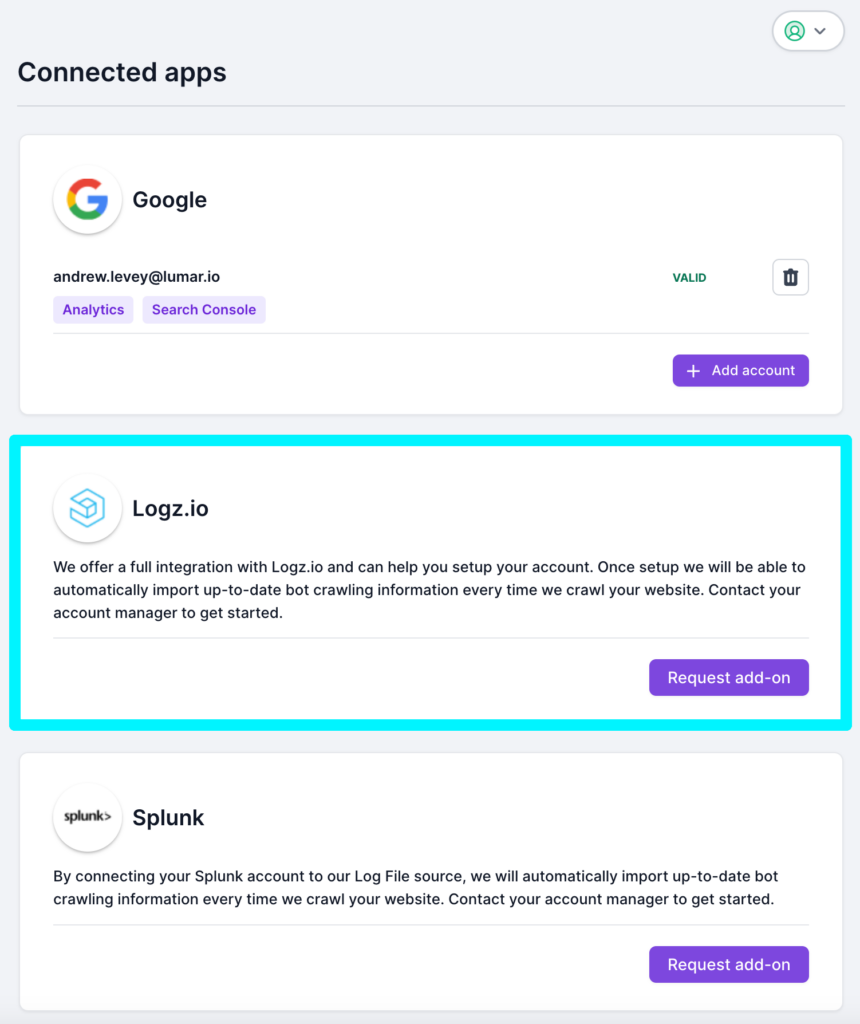
Once the Logz.io integration is added to your subscription, you’ll the option to add your Logz.io account.
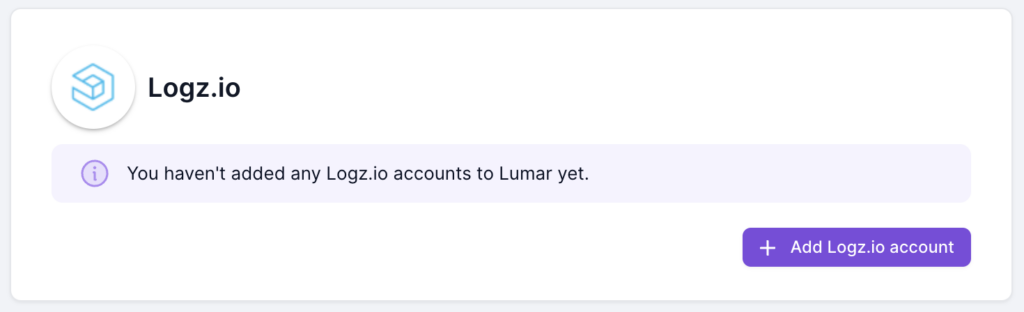
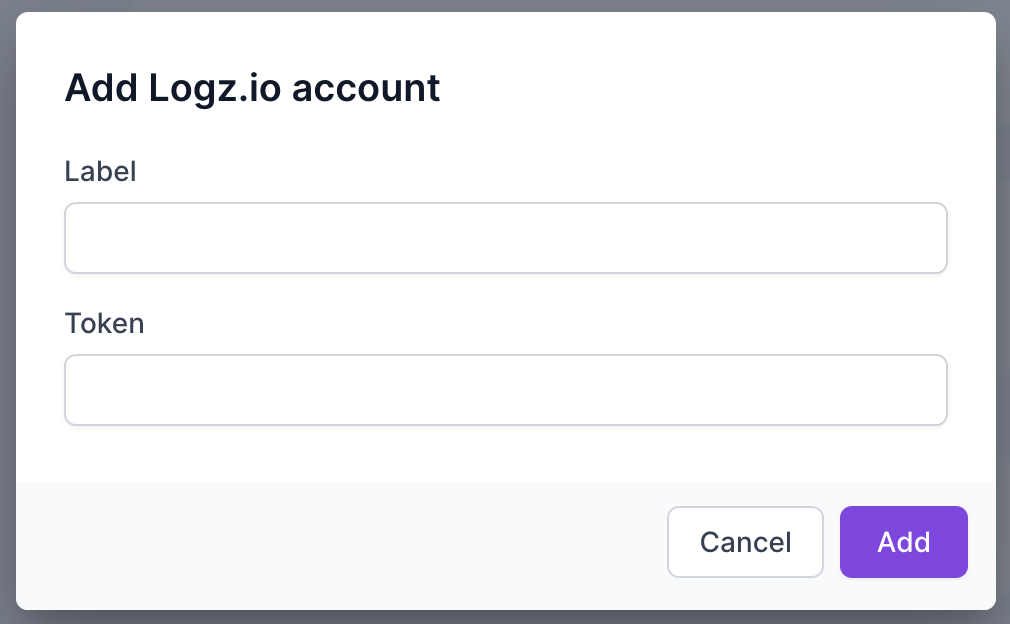
2. Click “Add Logz.io account” and navigate to Logz.io.
3. Go to the Logz.io dashboard and click on the cog icon in the top right. Go to Tools > API tokens.
Select the Cogwheel “Settings” in the lower-left Logz.io navigation pane.

Mouse over and click on “Manage Tokens” in the pop-up menu: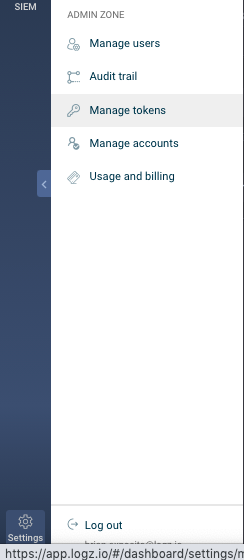
4. Click “API Tokens” On the “Manage Tokens” screen, then + New API Token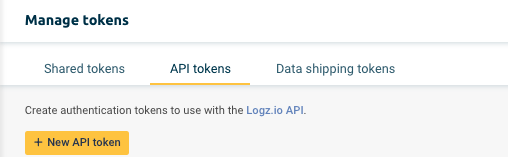
Choose a name for the new token and click “Add.”
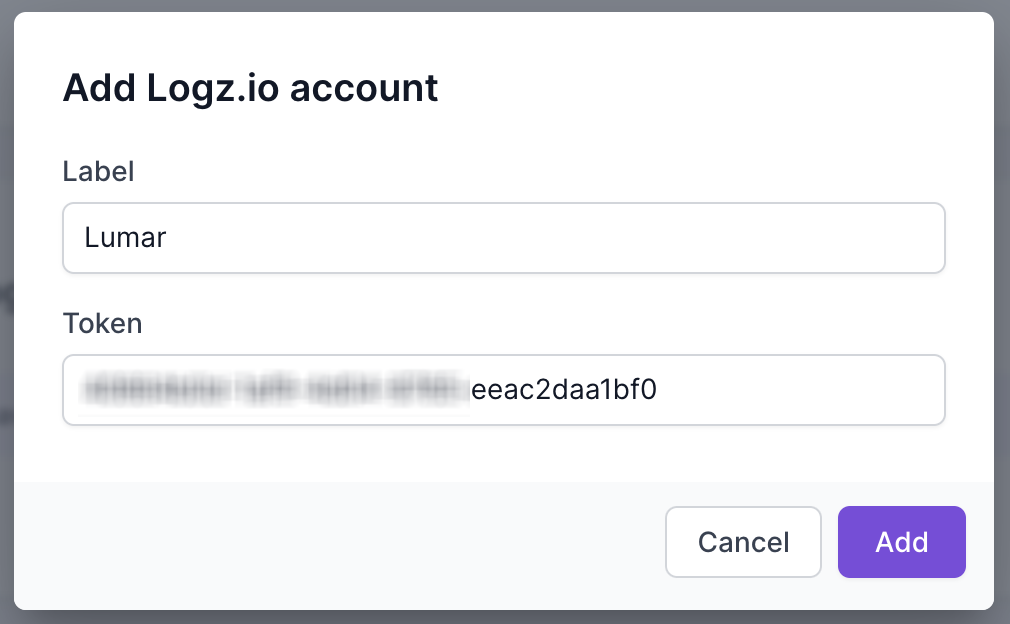
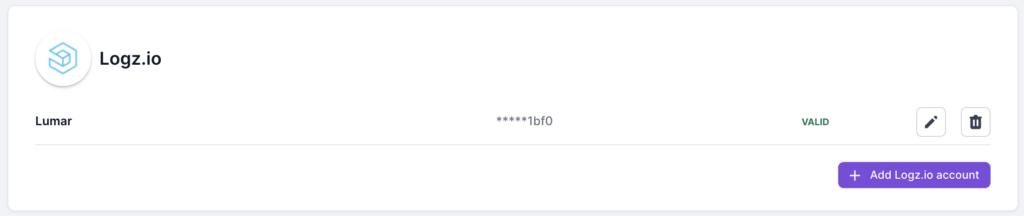
5. Copy the API token, return to Lumar and paste into the Logz.io account info on the Connected Apps. Click the Add button to save the details.
6. The API token will then be saved in the Connected Apps page in your account.
Adding log file data to a crawl
1. To select log files as a data source from Logz.io navigate to Step 2 in the crawl setup.
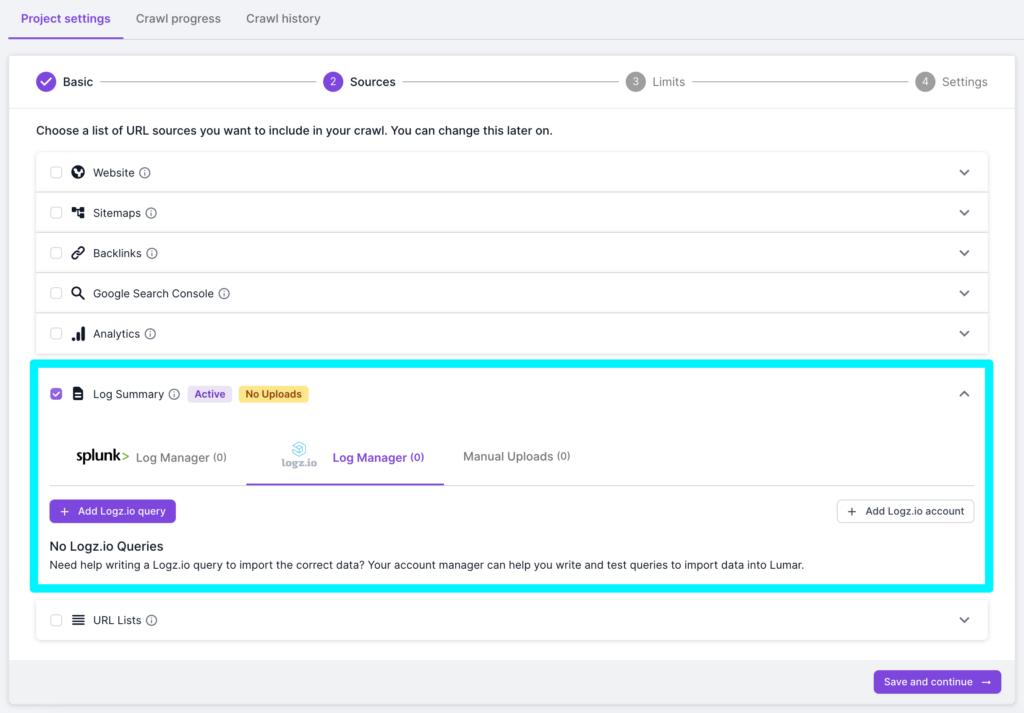
2. Scroll down to the Log Summary source, select Logz.io Log Manager and click on the “Add Logz.io Query” button.

3. The “Add Logz.io Query” button will open a query builder which, by default, contains pre-filled values for the most common server log file setup (more information about values below).

4. Once the query builder is configured, hit the save button to allow Lumar to crawl URLs from Logz.io API.
How to configure the query builder
The query builder can be used to customize the default values in Lumar.
The query builder requires analysis and editing to make sure that Lumar can pull in log file data from Logz.io.
Our team has described each field below and how to make sure each can be checked to make sure the query builder is correctly set up.
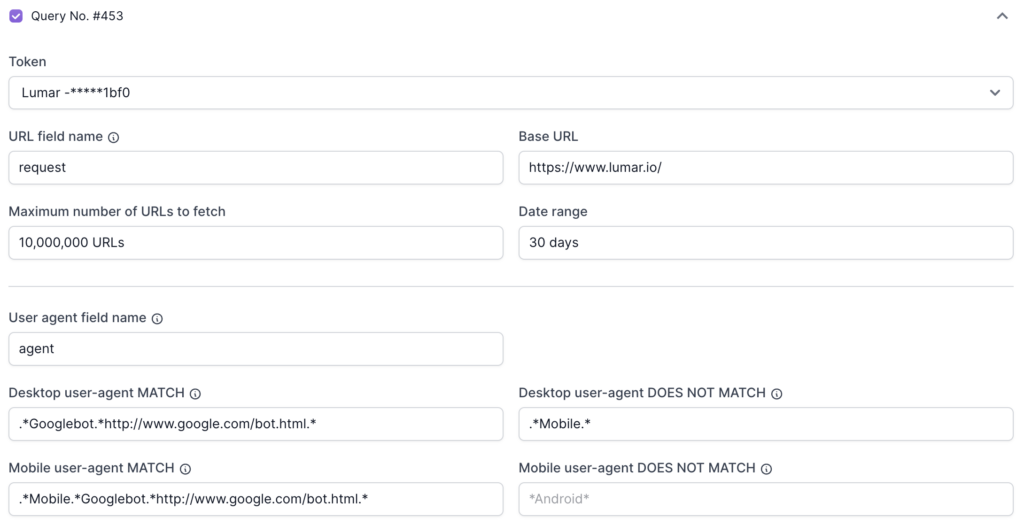
Base URL
The base URL value is the HTTP scheme (ie. https://) and domain (www.lumar.com), which will be used to append to the beginning of relative URLs (.i.e. /example.html) in log file data.
If it is left blank, the primary domain in the project settings will be used by default.
Please make sure that the URLs in the log file data are from the primary domain you want to crawl, otherwise, Lumar will flag a large number of crawl errors.
Token
The Logz.io token value is the API token used to connect Lumar to your Logz.io account.
Please make sure that the API token used is still active, and is created in the correct account.
Date Range
The date range value uses days as a metric, and Lumar will collect logs in the timeframe of the days inputted into this field.
By default, the date range is set to 30 days. Check if the date range used in your Logz.io account contains log file data.
Desktop User Agent Match and Does Not Match
These fields tells Lumar only to fetch data from Logz.io which matches a specific desktop user-agent string, and does not match another. This ensures the highest levels of accuracy in the data.
The default options for desktop user agent are:
- Match: (.*Googlebot.*http://www.google.com/bot.html.*)
- Does Not Match: (.*Mobile.*)
If you require customized user-agent strings, please get in contact with your customer success manager.
Mobile user-agent regex
As with the desktop options above, these fields tells Lumar only to fetch data from Logz.io which matches a specific mobile user-agent string, and does not match another.
The default options for desktop user agent are:
- Match: (.*Mobile.*Googlebot.*http://www.google.com/bot.html.*)
- Does Not Match: This field is empty by default and can be completed to meet your needs
If you require customized user-agent strings, please get in contact with your customer success manager.
Max number of URLs
This is the maximum number of URLs you want to fetch from the Logz.io API.
Please be aware that this field will not override the total URL limit in the project settings.
URL field name
The URL field name is the name of the URL column in the Logz.io database. This field helps Lumar look up the column that lists all relative URL rows in Logz.io, and fetch the pages which are in the log files.
By default, the query builder will look for a column called “request”. For most websites, this will allow Lumar to look up the right column and fetch the relevant URL rows.
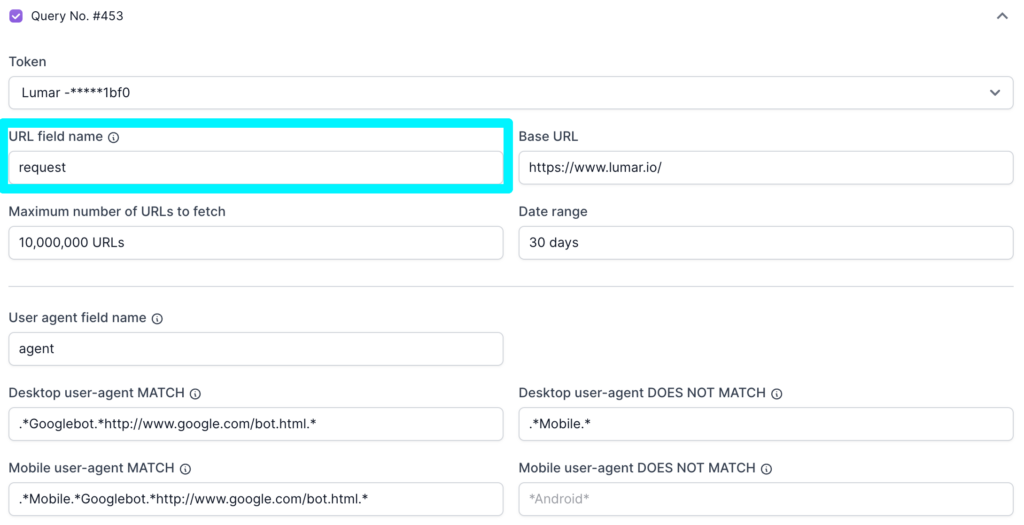
However, each website is unique, and different tech stacks can cause these columns to be named differently. This means that sometimes, the URL field name will need to be updated.
To do this, navigate to the Logz.io dashboard > Logs > Kibana:

Click on the arrow icon next to the top row of the log file data.
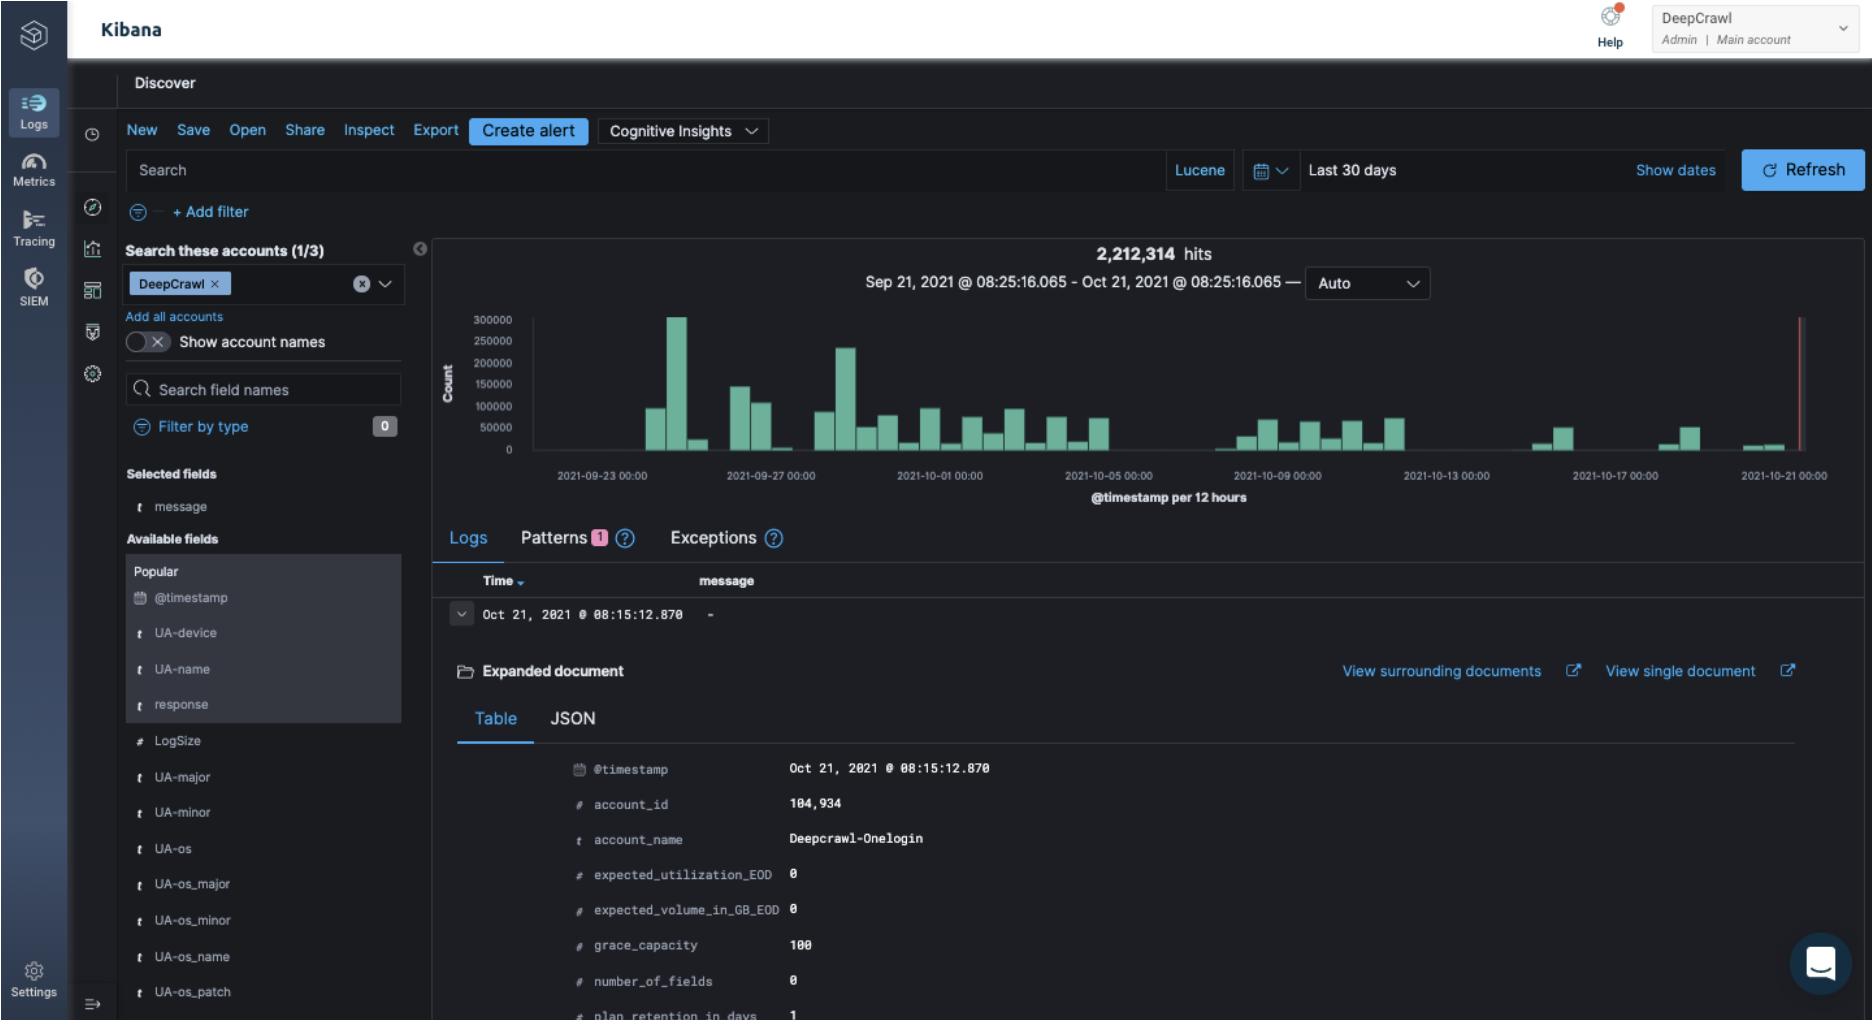
The arrow icon will open up all the columns and data for that specific hit:
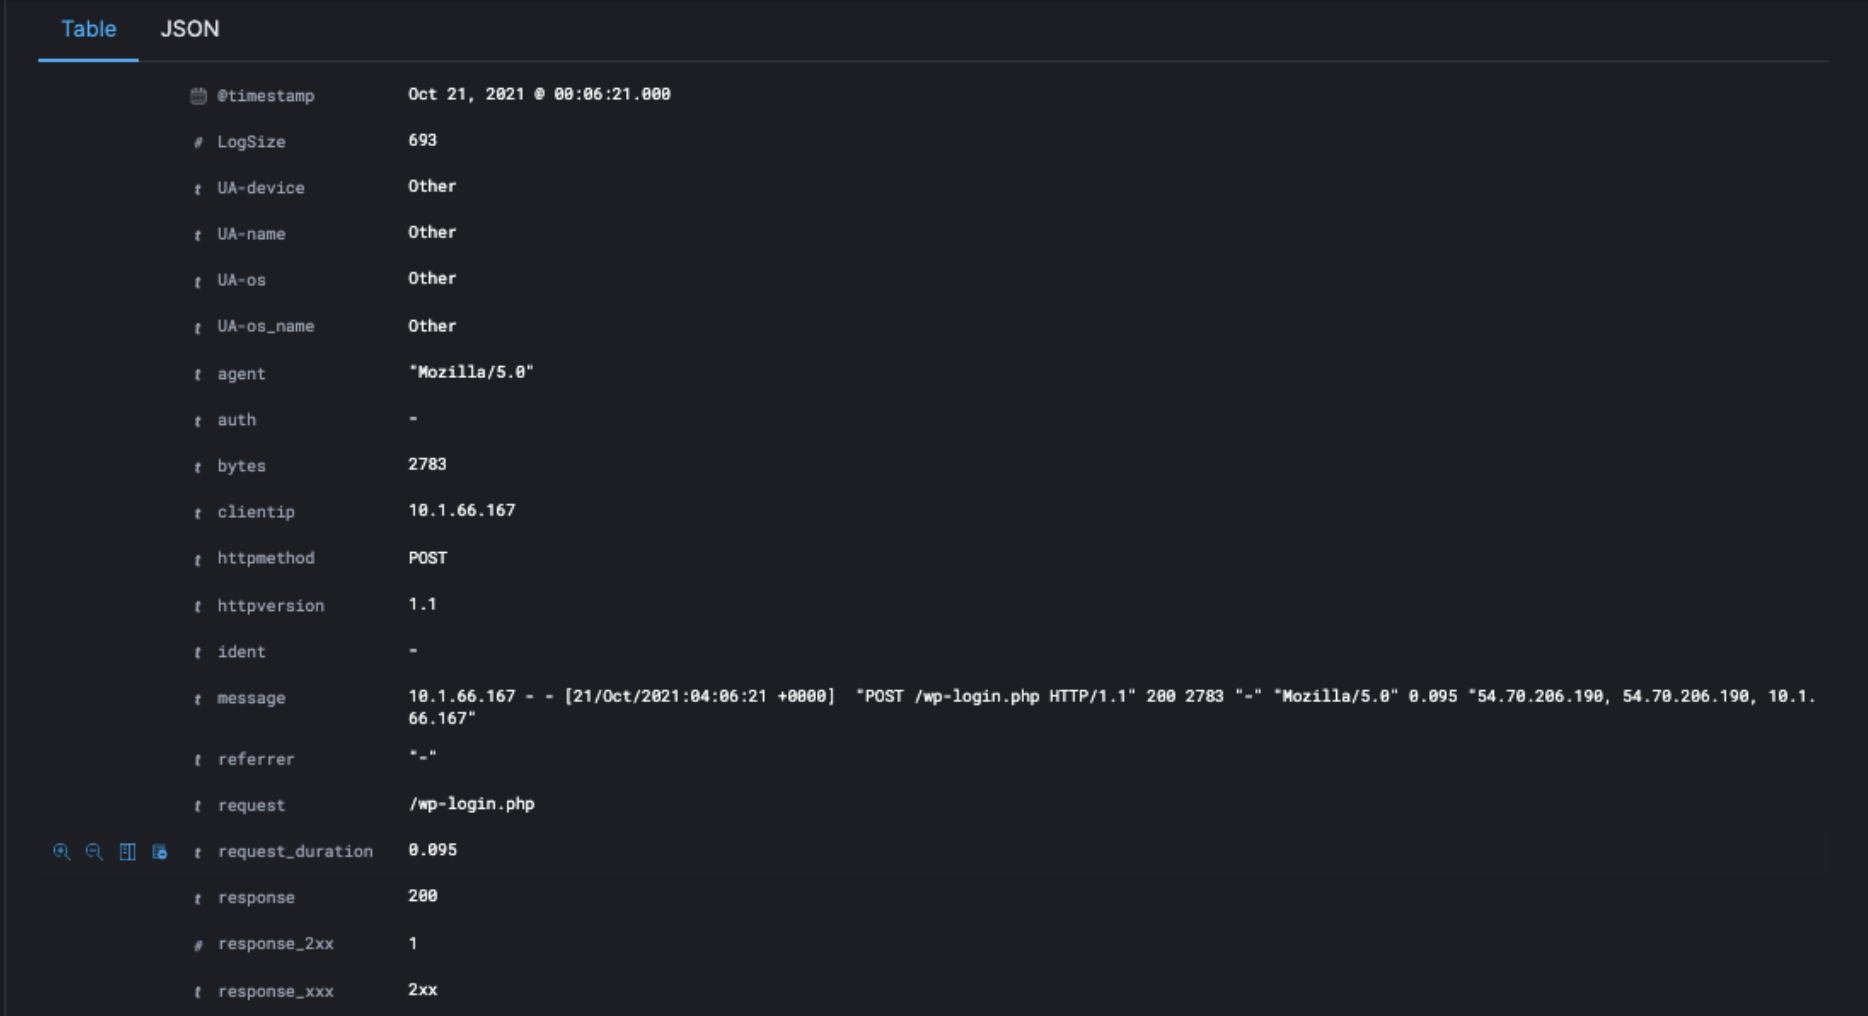
In this drop-down look for the column with the URL, which was requested in the log file data, be careful not to mix up the source URL column.
Once you have identified the URL, make a note of the name of the column. In the example screenshot above, this is “request”.
Go back to the query builder in Lumar and make sure the URL field name matches the name of the column.
User agent field name
The user agent field name is the name of the user agent column in the Logz.io database. This field helps Lumar look up the column, which lists all the user agent strings in Logz.io and applies the user agent regex to filter out particular bot hits.
By default, the query builder will look for a column called “agent”. For most websites, this will allow Lumar to look up the right column and fetch the relevant URLs with particular user agents.
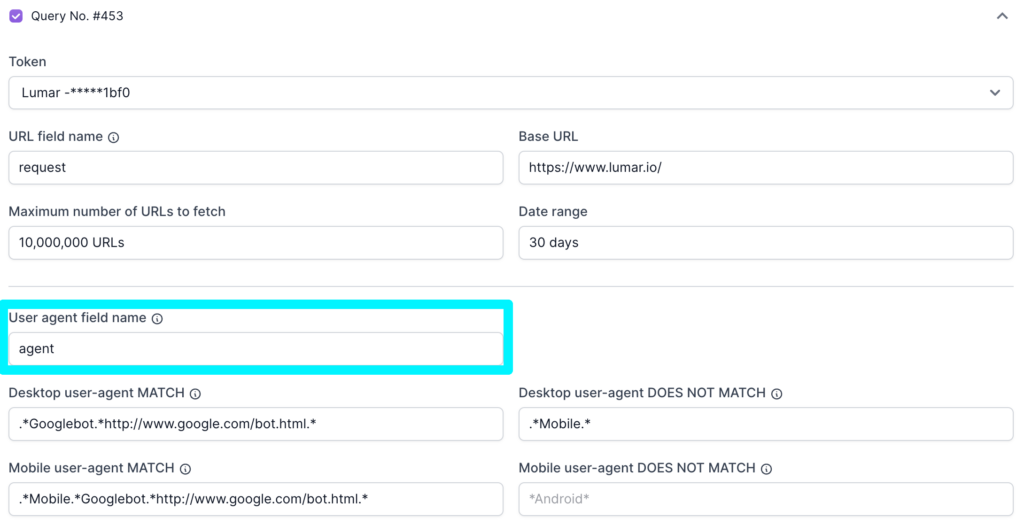
However, each website is unique, and the different tech stacks can cause these columns to be named differently. This means that sometimes the user agent field name will need to be updated.
To do this, navigate to the Logz.io dashboard > Kibana > Discover.
Click on the arrow icon next to the top row of log file data.
The arrow will open up all the columns and data for that specific hit.
In this drop-down look for the column with the user agent string, which requested the log file data.
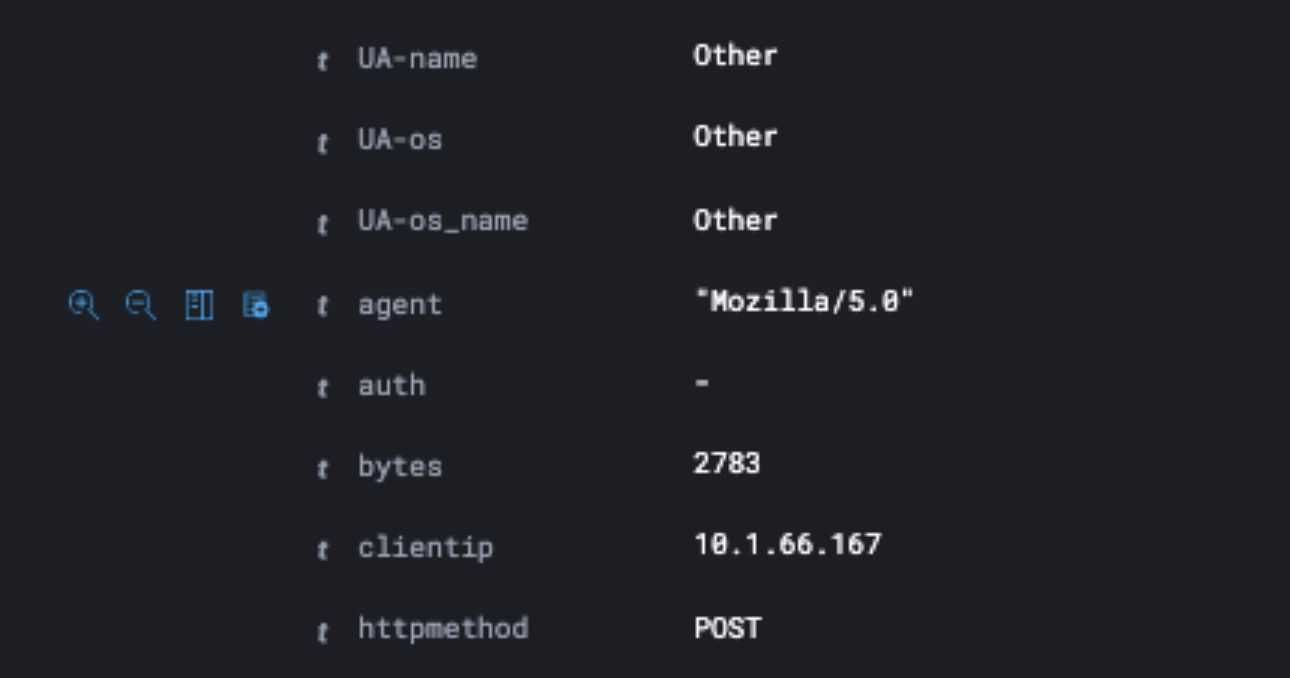
Once you have identified the user agent column name, please make a note of the name it is using. Go back to the query builder in Lumar and make sure the URL field name matches the name of the column.
Filtering log file data in the query builder
The Lumar query builder can also filter data that is fetched from Logz.io using JSON.
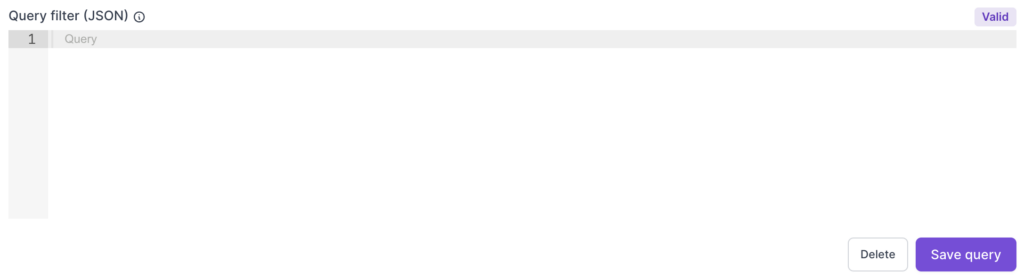
For example, if you wanted to filter on a specific domain or subdomain.
Our team recommends getting in touch with the customer success team if you want to filter using JSON.
Frequently Asked Questions
Should I run a sample crawl?
Yes, our team always recommends running a sample crawl when a new Logz.io query has been set up as a crawl source.
Running a sample crawl will prevent you from having to wait for a massive crawl to finish only to discover there was an issue with the settings. It also helps to reduce the number of wasted credits.
Why is Lumar not pulling in log file data?
These are the most common reasons why Logz.io may not be pulling in data:
- The API token is not from the correct account.
- The user agent regex is not correct.
- The URL fields are not correct.
If log files are still not being pulled in after these issues have been resolved, then we recommend getting in touch with your customer success manager.
Why is Lumar not able to crawl log file data?
Sometimes log file data is being pulled in correctly, but due to other issues, the crawl still fails.
Our team also recommends reading the “how to debug blocked crawls” and “how to fix failed website crawls” documentation.
Further questions on Logz.io?
If you’re still having trouble setting up Logz.io, then please don’t hesitate to get in touch with our support team.


